 Baselines
 Creating a baseline
Creating a baseline is a short three-step wizard: Configuration, Page Selection and Save. Open the app and click + Create Baseline to begin.
Step 1 — Configuration
Give the baseline a descriptive name so you can find it later, then choose a snapshot type:
| Snapshot type | What it captures |
|---|---|
| Current | The pages exactly as they are right now. |
| Historical | The pages as they were at a specific date & time you choose. |
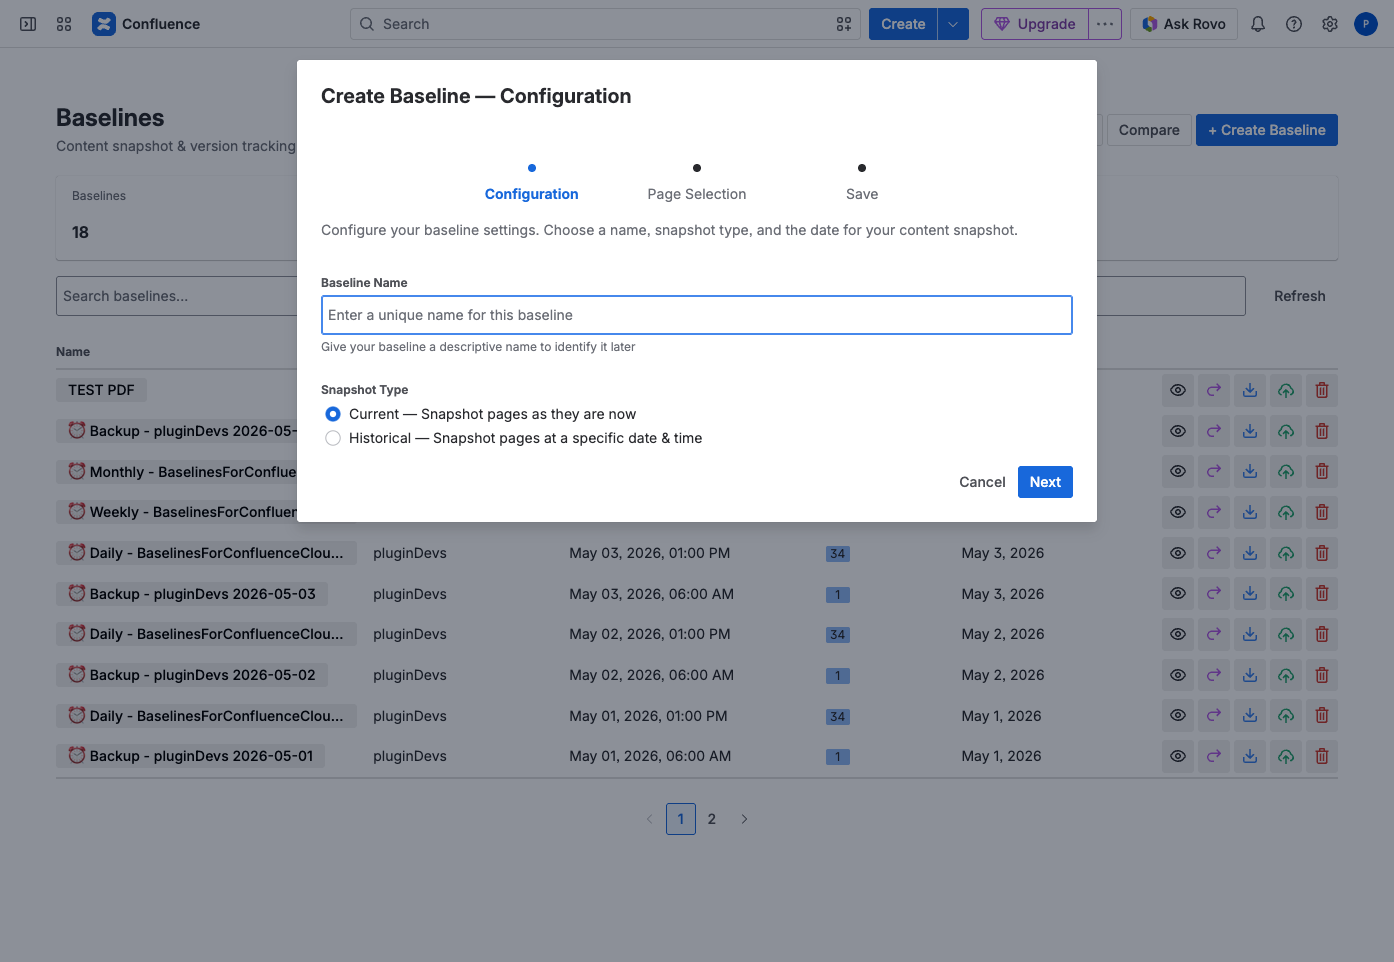
Include the purpose or date in the name — e.g. Q3 Release Baseline or Policy pages 2026-07. Scheduled baselines can add a date automatically; see Scheduled baselines.
Step 2 — Page Selection
Pick the space that holds the content you want to capture. Start typing to filter the list, then select the space.
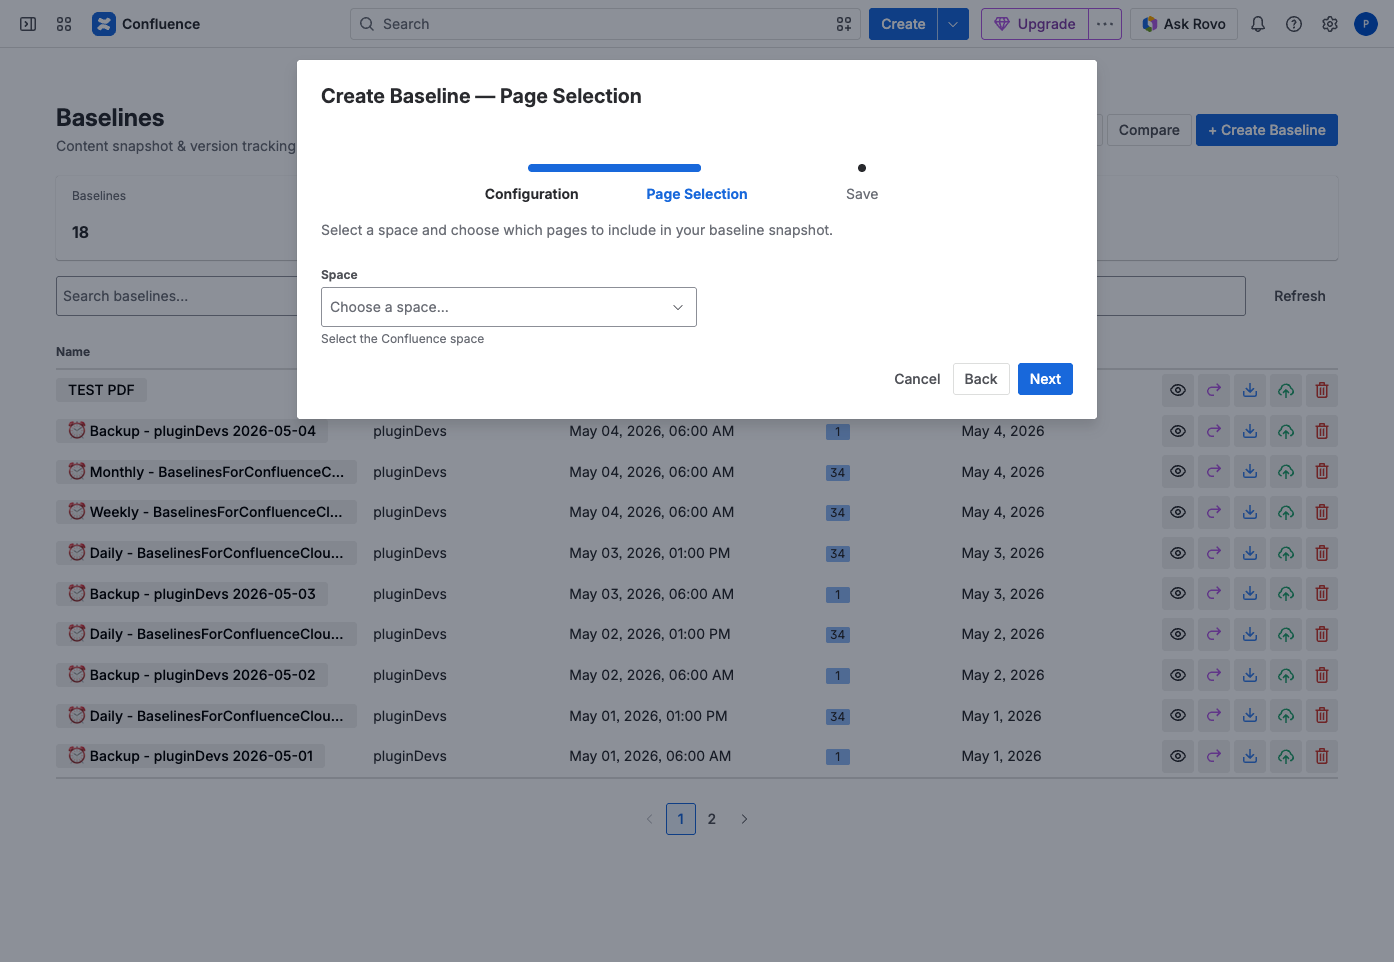
Once a space is selected, its space tree loads. Each row shows the item's Title, Type and current Version. Tick individual items, expand a page to reach its children, or use Select all to capture the whole space.
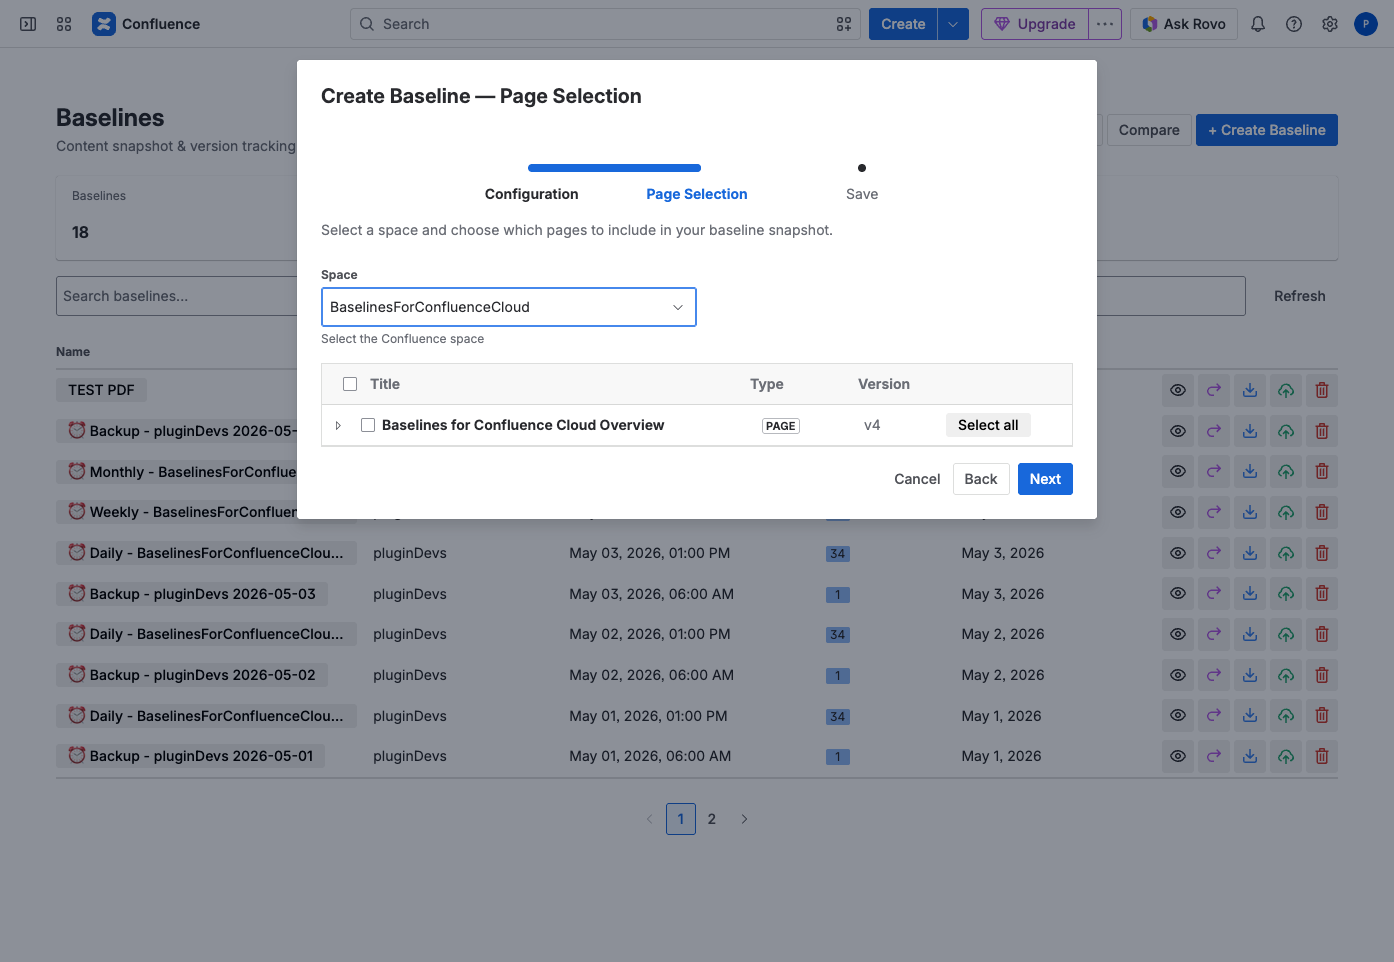
When a page is included, the attachments embedded on it are captured with it, so exports and restores keep their images and files intact.
Step 3 — Save
Review your selection and save. Baselines captures each selected page at its current version (or at the historical point you chose) and adds the finished snapshot to your dashboard. Larger selections take a little longer to assemble.
Retaking a baseline
To refresh a snapshot with the latest content, use the Retake action on the baseline's row. This captures the same scope again at the current versions, so you can keep a rolling record without rebuilding the selection each time.
Was this page helpful? Yes · No · Contact support